If you happen to know someone who is completely, 100%, addicted to paper, and glue, and glittery letters….
You might want to share this with them.
Two awesome things will happen, the first they will make a small dent in their paper hoard.
And the best part, have a new wreath after about 30 minutes of paper-folding, hot-gluing and giggling over
how pretty their paper is.

I couldn’t wait.
I wanted to wait at least until the first week of October to share this with you, but I just can’t.
It’s too easy and thrifty not to kick off Halloween decorating a little early, and do some Halloween crafting together.
I don’t know about you, but I am never ready to make something spooky until we are well into September. When
the back to school supplies and Halloween decor are set up at the same time each year, it just takes me a while to
adjust. But before long, black crows, bowls of candy, and spooky decorations lure me in…and here we are.
Making our first Halloween project. Are you ready?
Ok, here is what I used to make my new Halloween Wreath:
- 16-20 assorted 12″ x 12″ Halloween scrap book papers, I used a mix of heavy cardstock and craft paper
- Hot glue
- Scissors
- Glitter letters to spell BOO, or EEK, or HAPPY HALLOWEEN
- Coordinating paper to make banner
- Trim, ribbon, tassels, whatever you love as a festive touch, I used one yard of orange pom pom trim
- Small piece of twine or ribbon to make a hanger for the back

Directions:
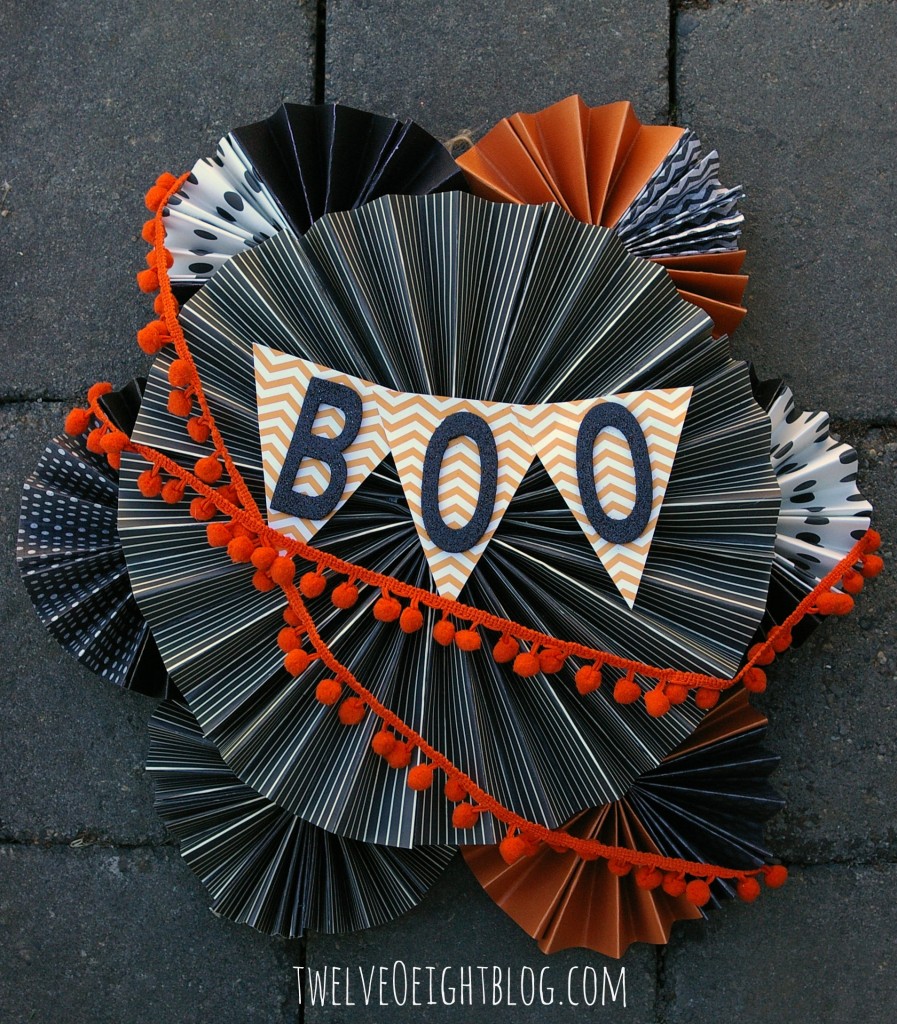
These paper medallions are pretty easy to make. Once you make the first one, you will have it down, and it gets really
fun to combine prints and colors. I did my large main medallion with 4 pieces of 12″ x 12″ pieces of paper. The smaller
medallions take two sheets each, just cutting a sheet in half for each quadrant of the medallion. Once they are all folded
like in the picture above, use dabs of hot glue to attach them and set aside until you are ready to assemble your wreath.
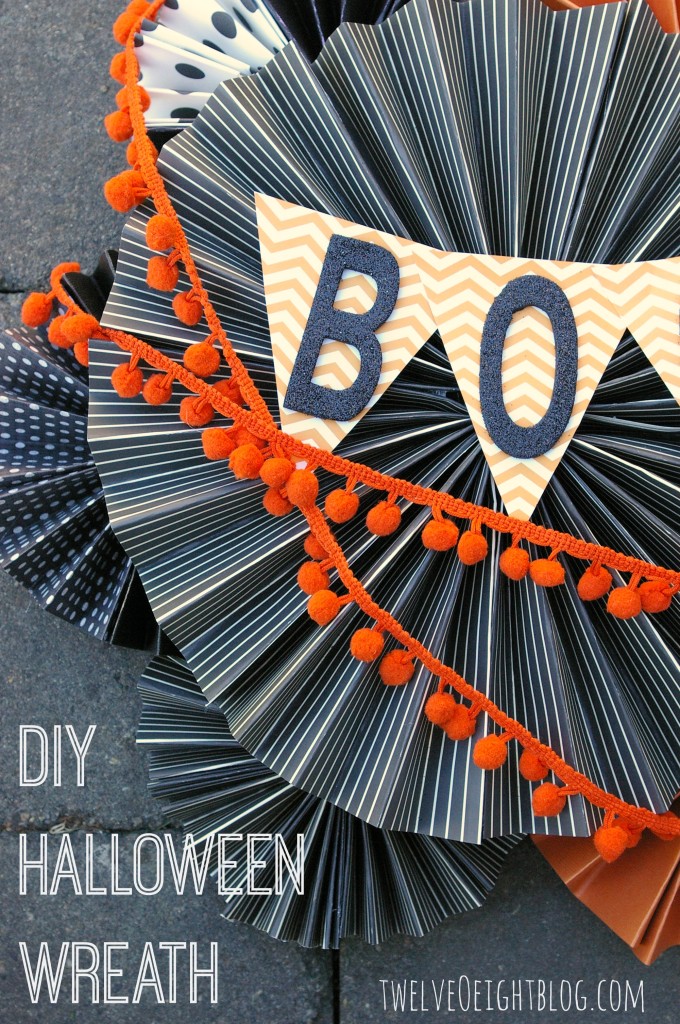
I moved the pieces around until I was happy with the layout, and used a little bit of hot glue to attach each of them
together, then add my BOO banner, which is just paper triangles and pre-cut sparkly black letters.
The orange pom trim went on next, tacking it down with a bit more glue, and a small loop of twine on the top/back to
create a wreath hanger.
Now you just have to sit back and wait for the big day to arrive. I love Halloween, and listening for the doorbell
to ring that first time as it begins to get dark Halloween night. The youngest of the little goblins venture up the steps
to smile, barely get a “trick or treat” out to watch in amazement as they bag of candy grows with each stop.
It’s magic, and makes me feel like I am 6 years old again, dressed up like my hero Wonder Woman.
Very excited, and possibly even a little creeped out at the older kids and their complicated costumes.
I LOVE HALLOWEEN! Did I mention I am excited?
I won’t be dressed up like Wonder Woman this year, something a bit more age-appropriate…I haven’t been
Morticia in quite a few years…I feel a DIY costume coming on!
Thank you so much for reading, have a blessed and creative day friends!!

![]()
![]()
![]()
![]()
![]()
![]()
![]()
![]()
http://www.savvysouthernstyle.net/


12 Responses
I love wreaths that aren’t traditional and this one is so pretty. I think the orange Pom poms really take it to the next level. If you’re looking for another place to share your projects, I would love to have you stop by Etcetorize and join our Make it Monday party.
Thank you so much Tamara! I would love to- xoxo
I love paper! Haha. Really sweet design. Found you on Twirl & Take a Bow Link up!
What a fun wreath! I love making those folded circles. We would love for you to party with us over at Creative Spark Link Party. Hope you stop by! http://bit.ly/1tYPo3T
Tanya, this is just adorable!! Can you make me one too, if I tried, it wouldn’t be half as cute as yours. Thank you for sharing at The Handmade Hangout. I am featuring at Redouxinteriors tonight 🙂
Thank you so much Karen!! You are too sweet – xoxo
I really LOVE this Tanya! I’m a huge paper hoarder – this craft is cute enough to use up some of those supplies 🙂
I ADORE this wreath!! Love those pops of orange with the pom poms, too. I featured your lovely project this morning at our link party. Be sure to stop by and grab a feature button!
http://www.delineateyourdwelling.com/2014/09/link-it-or-lump-it-party-57.html
This looks so good! You are amazing. Pinned. We had so much fun partying with you at our last party. We hope to see you tonight’s party at 7 pm. We love to see what you have been working on! http://loulougirls.blogspot.com/
Happy Monday! Lou Lou Girls
I loved as much as you’ll receive carried out right here.
The sketch is tasteful, your authored material stylish. nonetheless, you command get bought an edginess over that
you wish be delivering the following. unwell unquestionably come further formerly again since exactly the same nearly very often inside case you shield this
increase.
lFODv2 You have observed very interesting points ! ps decent website. There as always one who loves and one who lets himself be loved. by W. Somerset Maugham.