
I am so {squeal} excited to share this super easy painted table with you!
Oh.
My.
Goodness.
I love the end result, and including drying time, it took less than two hours.
Told ya it was easy!
I have been experimenting with homemade chalk paint recipes, and I am now
officially hooked on the stuff. It’s amazing.
I think I may name my little concoction something like:
“Paint Fantastico”
“Trip The Light Paintastic”
“The Last Paint You Will Ever, Ever Want To Use”
“If You Paint Or Refinish Furniture This Stuff Is Legit”
or
“Gee, Your Paint Smells Terrific”
(A Nod to those who washed their hair with “Gee Your Hair Smells Terrific” in the 70’s
I miss that stuff!)
What do you think, to over the top?
I don’t think so either and I really love the last one…
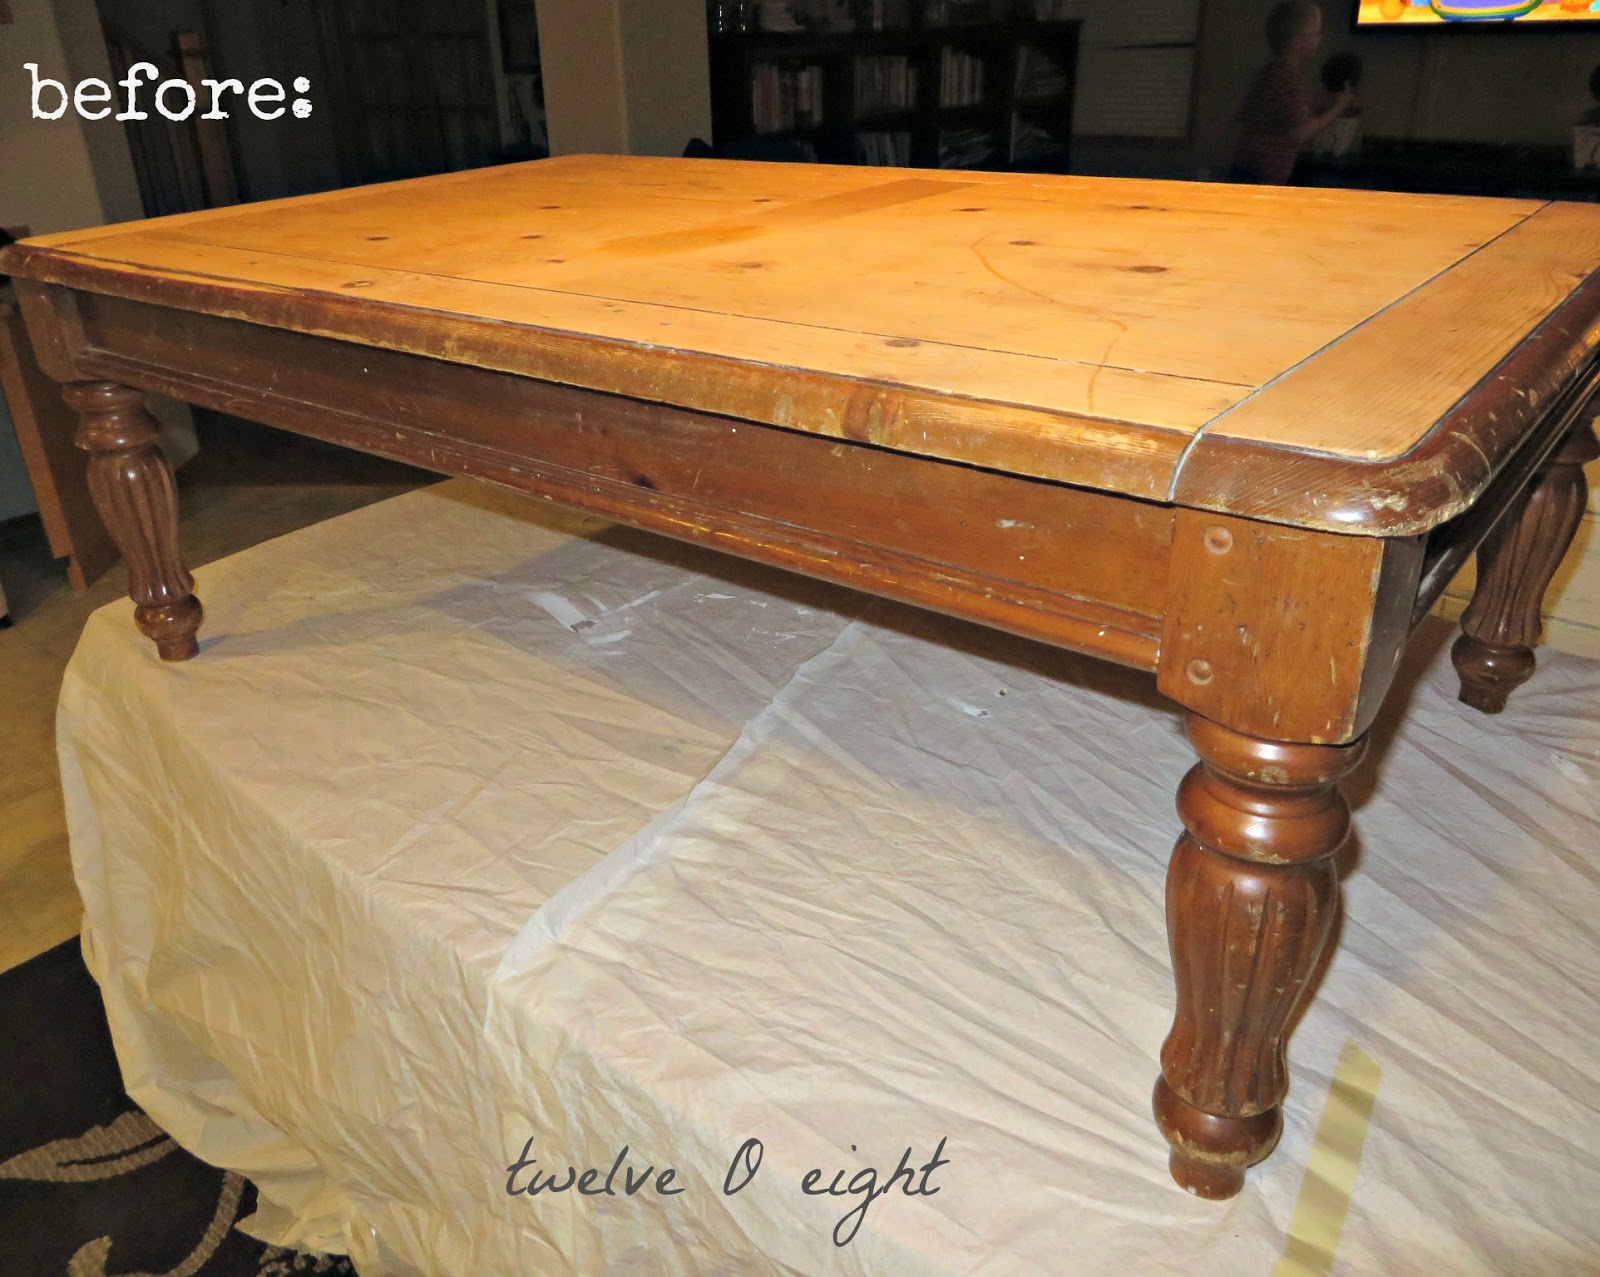
Anyways, back to today’s Pottery Barn Inspired Coffee Table Redo,
Here is what I did:
We have yet another happy ending for an orangey-oak table
that was staring down a lifetime sentence being either:
1. Boring (perhaps the worst thing I could think of)
or
2. Ignored and stuck out in the garage until the lady of the house mixes up a batch
of her paint and grabs the nearest victim to experiment.
Initially my daughter was going to paint this table so she sanded the top down a few
years ago, then moved on to another project. I don’t blame her, sanding is right up
there with eating rocks. So, because I was using my homemade chalk paint, did I
care that the rest of the table still clung to her terrible stain? Nope. Let’s save her
and make her fabulous shall we?

First I mixed the following together in a plastic dish, and using a foam brush I
applied two coats to the table. Allowing each coat to dry in between.
One 2 ounce bottle of acrylic craft paint (color of your choice, I used black)
One rounded tablespoon Plaster of Paris
About 1/3 cup of cold water
Next, I wanted a super-sanded finish where I could see a lot of the warm, natural
wood tones under the black. So I busted out the electric palm-sander, testing a small
area on one side of the table told me how much I needed to sand, or how little before
I needed to move onto the next section.

After I was done sanding the table,
I wiped the table down well with a clean cloth and applied
my latest furniture BFF, Howard Feed N’ Wax
THIS stuff is amazing! It is made out of beeswax and orange oil
so I am not worried about my kiddos coming into contact with
it afterwards. It only took about 2 tablespoons of the Feed N’ Wax
to condition and polish the whole table.
I am loving all of the warm, gorgeous wood tones
peeking through the black paint.
I told you I was beyond excited about how easy this was!

Do you have any old pieces of furniture lurking about that need some love?
It doesn’t get an easier than this, and if I can do it, I know you can!!
Sharing this project:
http://betweennapsontheporch.net/
Have a wonderful day friends,


4 Responses
Now I am ready to do my breakfast, afterward having my breakfast
coming over again to read other news.
Why viewers still use to read news papers when in this
technological world the whole thing is accessible on net?
Wonderful goods from you, man. I’ve be aware your stuff previous to and you
are simply extremely fantastic. I really like what you have obtained right here,
certainly like what you are saying and the best way by which you assert it.
You are making it enjoyable and you still care for to
stay it smart. I cant wait to read much more from you. That is actually a wonderful website.
Tp3QUZ This is a topic which is near to my heart Thank you! Exactly where are your contact details though?