“You get what you get and you don’t throw a fit” I first heard this phrase many years ago and it has become a family favorite. Not so much for the kids, but for me. My eldest who is now in college, attended a wonderful after-school program years ago an the owner, Traci (Awesome Mom of 5!) used to say this to the kids when they complained about the meal or snack they were given. This phrase has stuck with us. It is now lovingly hanging on my kitchen wall and if someone is not particularly fond of the food that is available they always have two magnificent options to choose from:
1. Read the sign and be thankful you have a Mom who is such a great cook, extremely patient and funny all at the same time. Now eat up!
2. Exercise your free will and show up for the next meal nice and hungry. I reassure my kids that I love them no matter what, and if they feel that they do not need to eat, I totally respect that. This is where the power of good old-fashioned peer pressure sure does work. The “free will” kid moves on to play or read while siblings are having a treat after completing their meal. It’s a tough lesson, but it sure does not happen very often. I still needed to make the sign however, because I like it so very much.
Ok, here is what I came up with. You could use this to put a picture in, a small chalk-board would be super cute, just about anything.

Here is what I used:
1) 5″x 7″ picture frame, I found this one for .50 cents at my fave thrift store
2) Scissors are great too, but I like to use my paper cutter. It makes me feel very in charge.
3) Pretty scrapbook paper that will feed thru your printer. If you have the large sheets just cut them down to fit in your printer and it will work great.
4) Some pretty ribbon. I used a 1″ wide black grosgrain to coordinate with my kitchen redo (in process)
5) Some pretty fabric to make a couple fabric flowers with or burlap is good too. One or two cut in a 18″ long strip about 2″ wide. I pulled some of the threads off the sides of mine as I wanted them a bit frayed.

That’s right, you are looking at my top-secret weapons used for most projects. This time I only needed my hi-temp glue gun, but I know I will need the wire snips or needle-nosed pliers soon. I don’t wear a tool belt or anything but I have entertained the idea. I don’t want people to find out think I am a sleep-deprived Mom staying up half the night crafting, surfing Pinterest, and planning my next redo.

I chose the paper and saying that I wanted, ran it thru my printer after typing it up in a Word doc, see, I am very, very fancy no? And trimmed it down to fit in my frame.

I used about 12″ of ribbon and glued it in place at an angle (below) and glue the ends down as well to avoid fraying.

Time to put it all together and add something fancy!

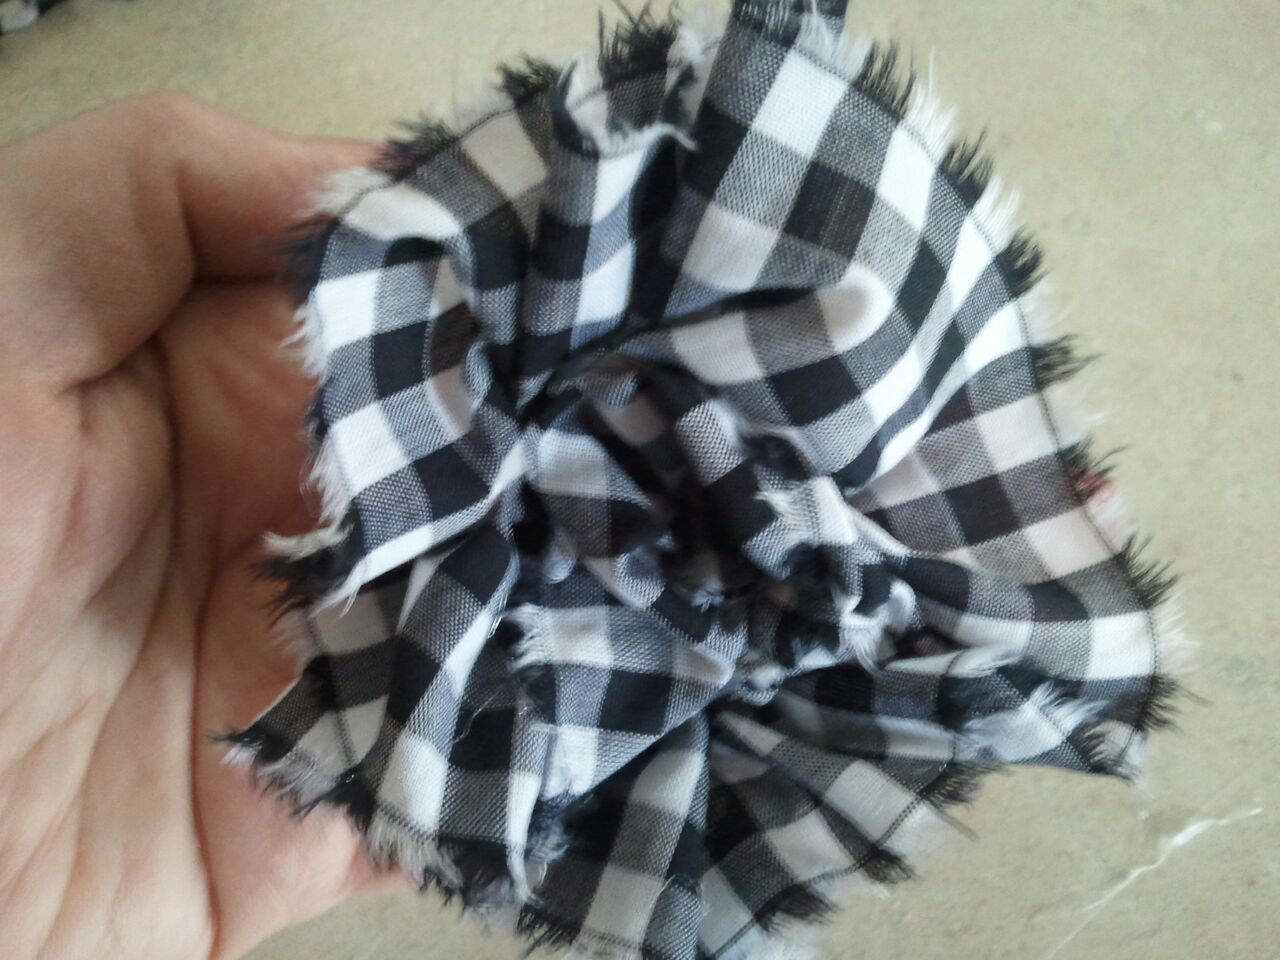
I ended up only using one strip of fabric, tying a knot in one end and by pinching it together and gathering the fabric around the knot, using little lines of hot glue along one side of the strip as I go. You began to create a little gingham rose.

See the knot and gathering below:

This is what the flower ends up looking like and I like to put a couple more dots of hot glue here and there to shape and pinch the fabric so the rose looks good.

You are finished and ready to hang your easy-peasy super-cute new frame and picture/saying up in your home and prepare to receive compliments for how creative you are. We can keep it our little secret how fast these are to make 🙂
 |
| Happy Crafting!
Hugs, Tanya 🙂 |


